
Me looking like an ant in comparison to the height of the canyon walls
Being the nature/outdoors lover than I am, the Zion Narrows hike immediately caught my attention when I saw another travel blogger post about her hike there. I had actually never heard of it prior to that, but knew I had to get there. Just a few weeks after seeing it, I was on a flight across the country to hike the Zion Narrows!
BASICS: If you’re not familiar with it, Zion National Park is located in southwest Utah near the town of Springdale, Utah. The closest airport to Zion is actually Las Vegas, Nevada. From there, it is around a 2-2 1/2 hour drive to the Zion area. Hotels are “expensive” (I’m always on a budget) in Springdale… so I opted to stay in Hurricane, Utah for much cheaper (25 minutes away).
Zion is a huge national park with a myriad of hikes to choose from, thus very popular and touristy in the summer. The narrows hike is one of the most unique and beautiful ones, so it is filled with people in the summertime (clogging the trails and the roads, taking away from the nature aspect.. making the experience far less enjoyable in my opinion). So if you can handle a bit of cold temperatures and adventure, GO IN WINTER.
ABOUT HIKE: You hike through the insanely high (up to 1000 feet high) canyon walls, walking up a river (yes, in the water most of the time). The river temperature in winter is usually in the 30’s & 40’s… And the air temperature can range from below 0-50 degrees F. Most people would say “too cold, screw that”.. but for those who seek adventure it is absolutely amazing because BARELY ANYBODY is there in the winter. We hiked for 6 hours in the narrows and saw a total of about 6 people other than us (compared to 100’s in the summer). For this reason, I highly recommend going in the WINTER. Also, just for the experience. You will basically have it to yourself to enjoy nature, take pictures, and just have the bragging rights to say that you did it in the freezing cold!
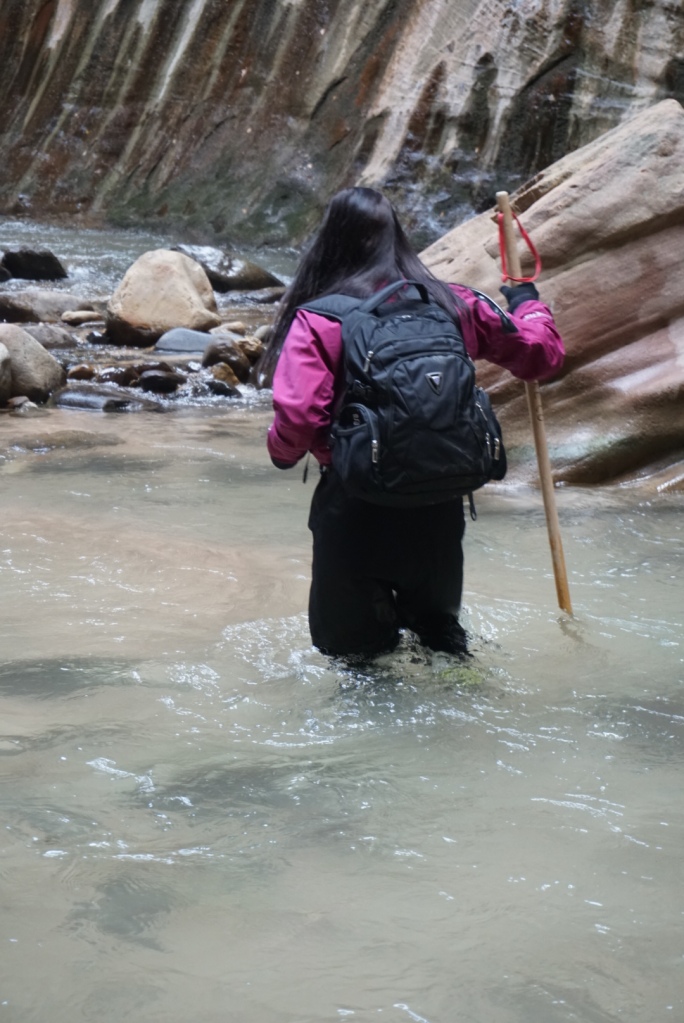
PREPPING FOR HIKE: Because you will be walking in freezing water (unavoidable, the Virgin River runs through the canyon year round), you will want to rent a dry body suit and shoes from a rental gear company. We used Zion Adventure Company and had no problems.. so I recommend using them! It cost $53 for a full-body dry suit, 2 pairs/layers of neoprene socks, waterproof hiking boots, and a hiking stick. The one-piece suit has tight rubber seals around the ankles and wrists so no water can get in. It was a tad awkward to put on, but definitely did it’s job.
If you choose not to rent a suit, you will probably lose your toes or legs to frost bite, so don’t do it 😉 I was hesitant to believe it would keep me dry, BUT IT DID. Picture of gear below (took picture after hike, hence the wet/dirt).


Other than the rental gear, you will want to bring hiking basics. I brought a backpack with lots of water, granola bars, all my cameras, and basic first aid just in case. (I only tripped and fell on a rock once haha, so nothing got wet… but if you’re clumsy, a water-resistant backpack might be best). That’s it!
THE HIKE ITSELF: In the winter, you can drive yourself right to the Temple of Sinawava, where the hike begins. (In the summer you are required to take a shuttle because of the amount of people! wink wink.. another time I’m telling you winter time is worth it…)
The first mile is on a paved path through the canyon that ends at the entry point to the river. This part of the hike is easy, with beautiful views.. gets your blood flowing for the river walk. There is also plenty of wildlife in this part. We saw multiple deer right next to us.

The first mile of hike on paved path
When the paved path ends, there is a set of stairs that lead right into the Virgin River. This is when the gear begins to be necessary.
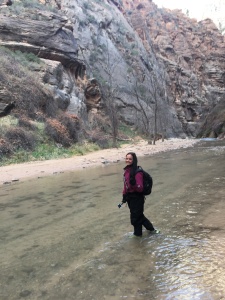
My first steps into the water!
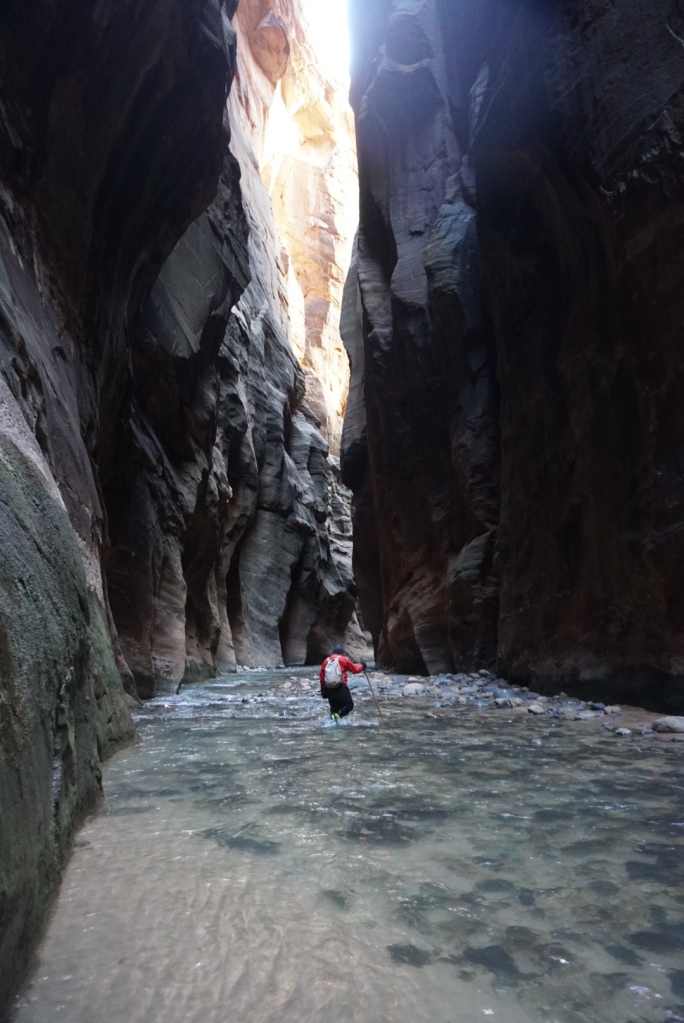
From here, the hike is gorgeous. This is where the canyon narrows and the walls get higher. You can choose the length of your hike. We chose to walk 3 hours in one direction and then turn around to do 3 hours back (you do have to hike both ways in the bottom up hike). Hiking 3 hours will get you to “Wall Street” which is a long strip of the hike with the most narrow parts of the river (the most breathtaking and recommended part). Take your time, enjoy the scenery, take pictures, be proud of yourself here.
The water levels of the hike range from dry rocks to ankle deep to waist high. I’d say majority of the hike was ankle deep water. There was one point that I was in chest high water (by choice.. you could have walked around the chest high point). I was continually in awe that my dry suit kept me perfectly dry that I thought it was fun! In this picture below, if you went right next to the big rock, my face probably would have been under water. We messed around a bit here and even floated in the water.. REMAINING WARM & DRY! When have you been completely submerged in water without getting wet? So so cool!
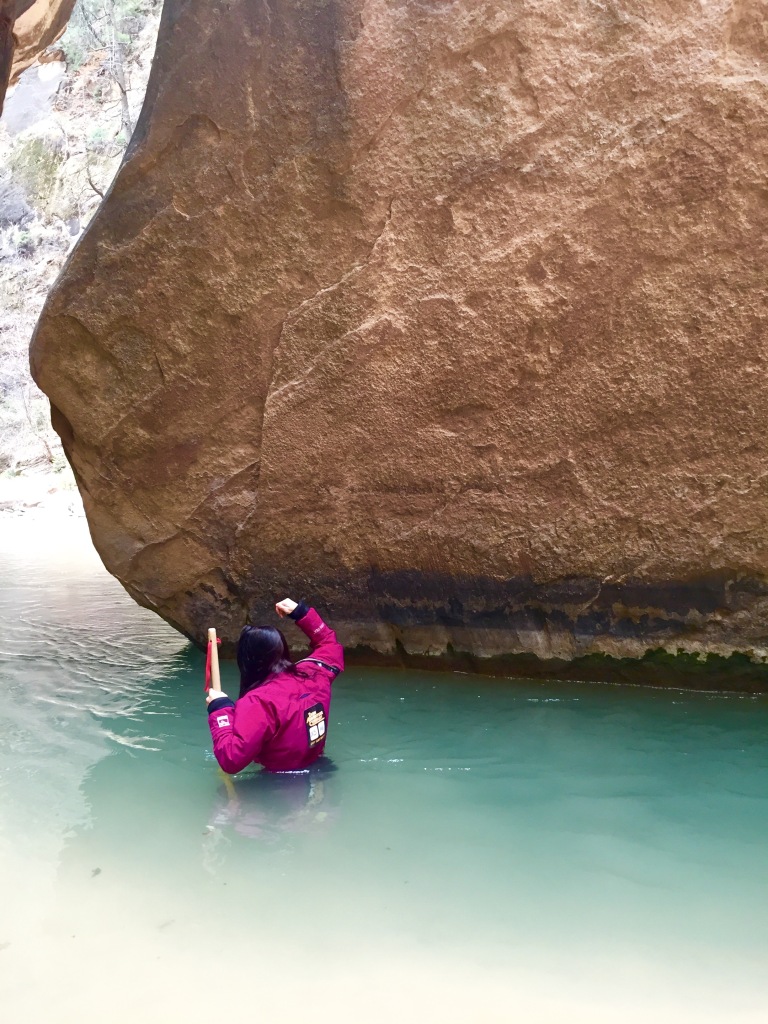
chest high water.. totally dry!! such a cool feeling

My buddy floating in the water without feeling the coldness of it!
Wearing multiple fleece layers under my dry suit, I was actually almost HOT at some points in my hike. I couldn’t believe it. The only thing that ever felt cold was my hands if I took off my gloves for an extended period of time.
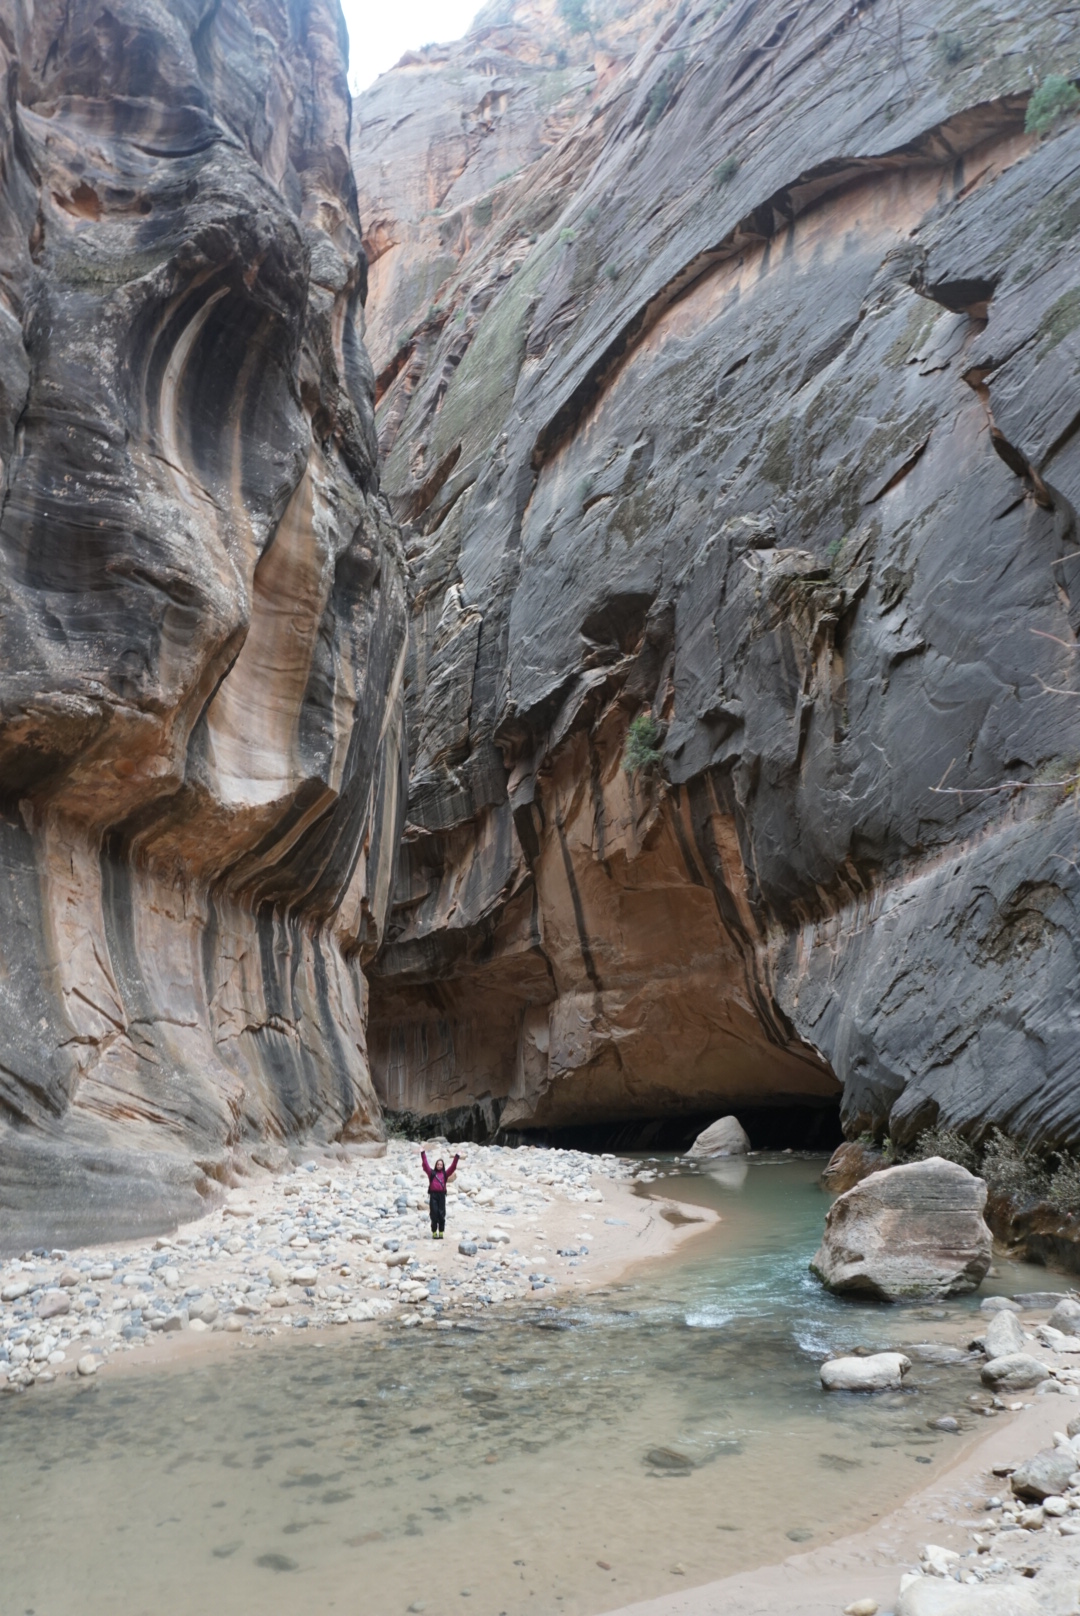
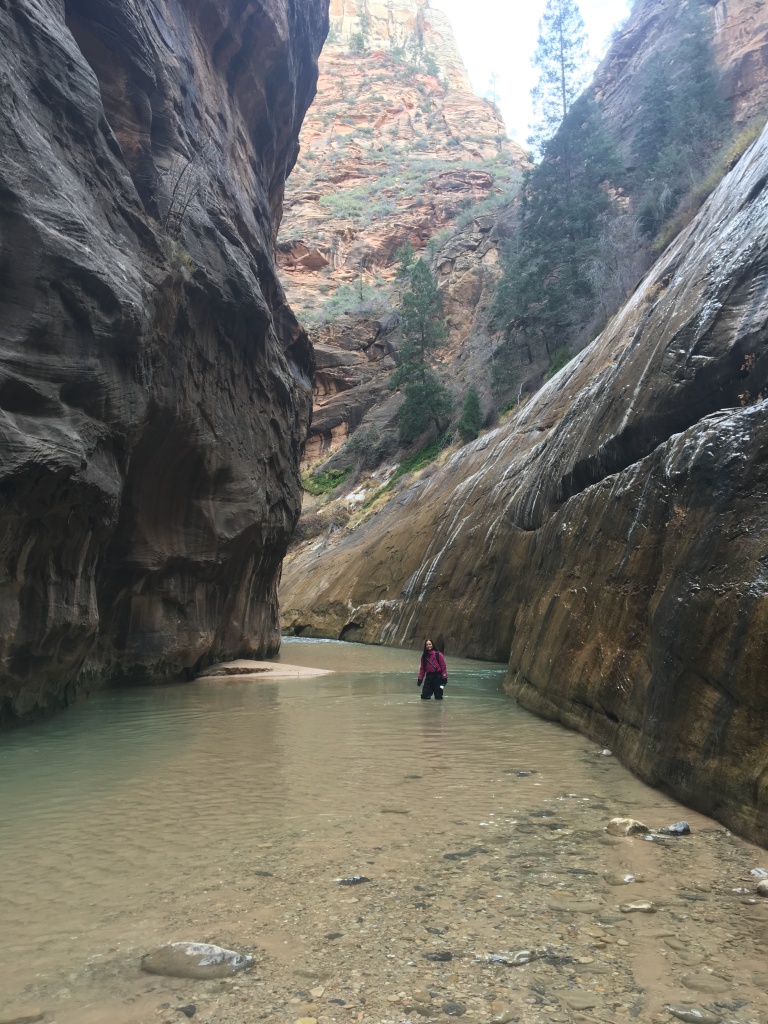
Feeling small.. so beautiful
The rental gear company does provide a map for you. It is semi-hard to follow. We more or less based our location on how long we’d been hiking for. There is one “fork in the road” that is a marking point that you should reach after about 2 hours. It is relatively small and easy to miss, so be on the lookout for it. You should be on Wall Street no longer than 3 hours into your hike.

The log I’m sitting on below was our turn around point. I could have kept walking, but had to keep in mind we had to walk all the way back before daylight ran out. If you wanted to walk one direction the entire time, you could opt to complete the 16 mile “top-down” hike, but a permit is required to complete that one. No permit is required to complete the “bottom-up” hike which is a maximum of 10 miles, 5 each way.


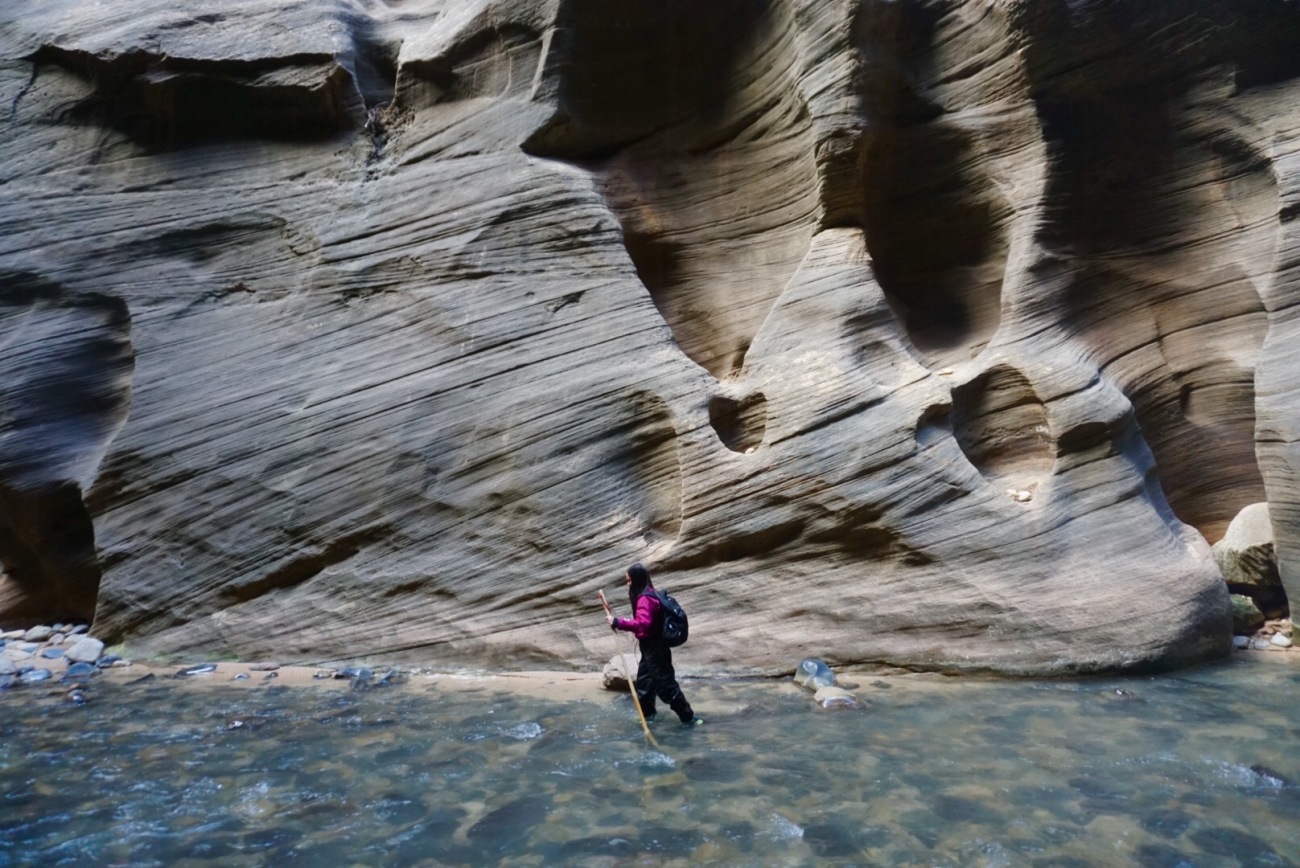
The rock formations and canyon walls are beautiful. It is a wonderful hike for nature photographers and adventure seekers. Make sure to take time to observe your surroundings!

Pretending to rest inside of the rock wall.. actually a cool resting place if you need one!
Loved this rock wall because it looked like it had hearts in it ❤
CONCLUSION: After the hike, I felt proud of myself and accomplished. I had done something most people wouldn’t do. It was beautiful, peaceful, adventurous, different, and amazing all in one. It was freezing outside, but warm in my dry suit. I remained dry during the hike despite being in water majority of the time. The scenery was one-of-a-kind and I highly recommend completing this hike once in your life. You won’t regret it!!
If you have any questions about it, feel free to contact me at KellyNicoleTravel@gmail.com 🙂
And don’t forget to follow me on Instagram
HAPPY HIKING!!!
-Kelly
For more information, link to National Park’s website: https://www.nps.gov/zion/planyourvisit/thenarrows.htm
Categories: North America, Travel

Wow, I wish we lived closer to the bigger national parks! We are in the midwest and I feel like everything magical and big is on the other side! 🙂 , Great post !
LikeLike
I live in Florida, don’t let anything stop you from getting to them! 🙂 and thank you!!
LikeLike
What!! Jeez, us Michiganders should travel more (a)
LikeLiked by 1 person
So cool! This hike is awesome 🙂 I didn’t rent the wet/dry suit when I hiked it in late fall and my toes turned blue. (I wish I was kidding)
LikeLike
oh no! thats not good. But at least you did it! I just did it in December a few days ago.. I couldn’t have done it without the suit! 🙂
LikeLiked by 1 person